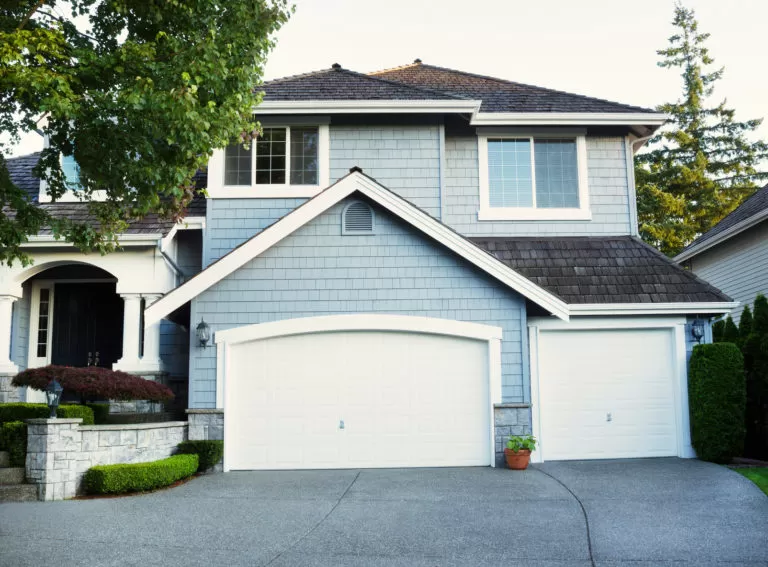
Whether you have a new opener or are simply replacing an old remote, there are some basics you’ll need to know in order to set up a remote to open and close your garage door.
As a bonus, we’ll also be covering how to clear programmed remotes from your opener’s memory.
The steps we’ll be covering here can apply to most LiftMaster, Chamberlain (parent company of LiftMaster), and Sears Craftsman model openers. At A Plus Garage Doors, we almost exclusively install LiftMaster openers. Over the 15+ years we’ve been in business, we’ve found that LiftMaster units are readily available, reliable, feature-rich, affordable, and carry a very competitive product warranty.
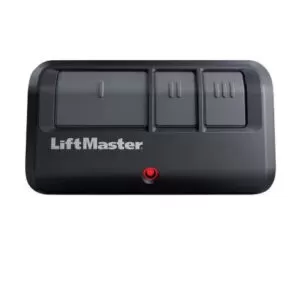
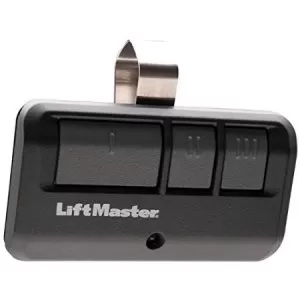
Many types of remotes or transmitters have been manufactured and sold over the years, and the ones we typically set up for our customers look like this:

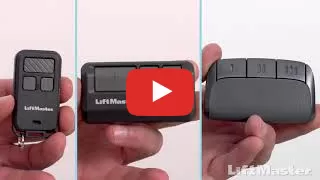
If you’re more of a visual learner, you can watch LiftMaster’s video walkthrough by clicking the image below. Otherwise, read on.
Preparing to Program Your LiftMaster Remote
Before we get around to doing the actual programming, you’ll need to have two things ready:
- Access to the Learn button on the opener. Take note of the button color.
- The remote you want to program with good batteries (if the remote has an LED it should light up when a button is pressed, even before it is programmed).
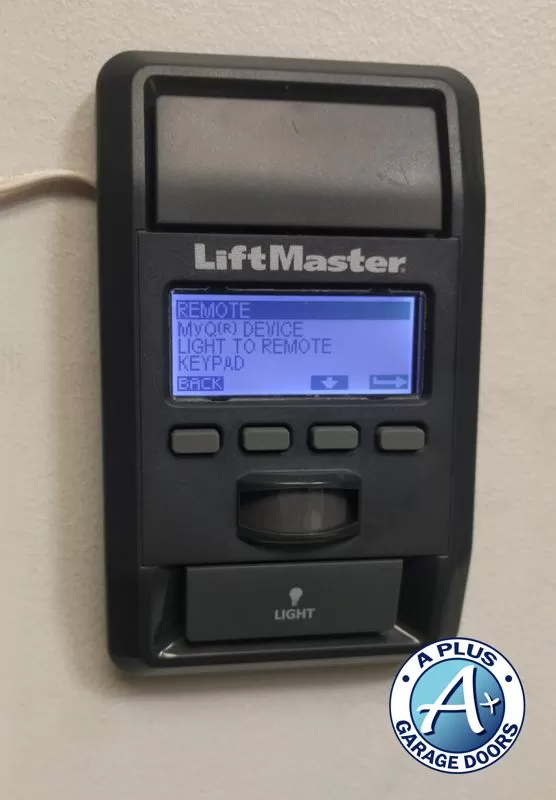
Most openers will require a ladder to reach. Start by locating the antenna wire that hangs from the motor, which may be hidden under a light cover, usually on the back side. Most covers can be opened by gently pushing the sides out from the inside.
The Learn button will be located near this antenna wire, and will be either yellow, purple, red/orange, or green. Usually (but not always), the learn button will match the color of the antenna wire.

If you have a wall-mounted panel, there may be a physical button or menu option to assist with the programming steps. If the panel has a digital menu, you should find it under Menu → Features → Program → Remote.
Programming the LiftMaster Remote
The steps to program a LiftMaster remote to an opener can vary slightly depending on the model of remote. Refer below to your model for the exact sequence of events.
LiftMaster 891LM and 893LM Remotes
- Press the Learn button to enter programming mode.
- Press the Learn button again, the LED will flash once.
- Press and hold the button on the remote you want to use with your opener.
- Release the button when the opener’s lights blink or two clicks are heard.
- Test the remote.
[Link to official LiftMaster manual]
LiftMaster 890MAX and 893MAX Remotes
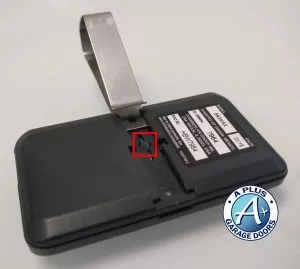
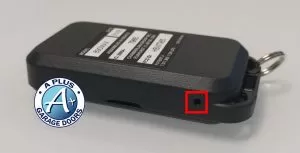
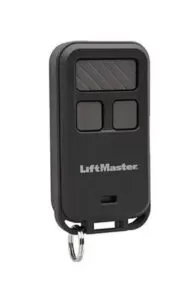
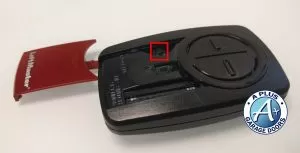
- Press and hold the program button until the LED turns on. Slide off the clip to reveal the button on the 893MAX remote, which can be pressed using the long end of the clip. For the mini keychain 893MAX remote, the button can be reached using a paper clip or pin through a hole in the side. See the above images for reference.
- Press and release the button you want to use with your opener based on the color of the Learn button:
- Yellow: 1 press
- Purple: 2 presses
- Red/orange: 3 presses
- Green: 4 presses
- Exit programming mode by pressing any button other than the one from the previous step.
- Press the Learn button on the opener or control panel.
- Press the programmed button from step 2 until the opener lights flash or you hear two clicks.
- Test the remote.
[Link to official LiftMaster manual]
LiftMaster 375UT Remote
- Make sure your garage door is closed.
- Slide open the battery cover. Hold the program button until the LED lights up, about two seconds.
- Press and release the Learn button on your opener or control panel.
- Press and release the button you want to use with your opener. Make sure you wait for the LED to stop blinking after each press. The number of presses needed is based on the color of the Learn button on your unit:
- Yellow: 8 presses
- Purple: 3 presses
- Red/orange: 2 presses
- Green: 4 presses
- Press the program button to exit programming mode.
- Test the remote.
[Link to official LiftMaster manual]
Clearing ALL Remotes from Your Opener’s Memory
If you want to start with a clean slate, you can clear the memory of your opener at any time to forget any previous remotes. This means that if you lose or replace an old remote, you can clear it so it no longer works with your opener in case it falls into the wrong hands.
To erase all codes from memory, press and hold the Learn button on the opener until the Learn LED goes out, usually about 6 seconds. This will wipe all previous codes from memory.
Having Trouble with Programming?
Most LiftMaster products have manuals available online, start by using the Chamberlain/LiftMaster search page and search for your model number of your remote and/or opener for more information.
If you need additional help and are located in one of our Utah service areas, reach out to us today so we can check out the issue for you.