The 90 Series remote control (with yellow battery test light) works only with door openers and light controls having an orange “Smart” button and a yellow indicator light. Programming instructions are described and illustrated below. The additional push buttons can also activate other garage door openers and/or light controls. (Instructions for programming light products are included with those accessories.)
Security Plus™ Garage Door Openers
To Program the Opener to Accept the Remote Control Code
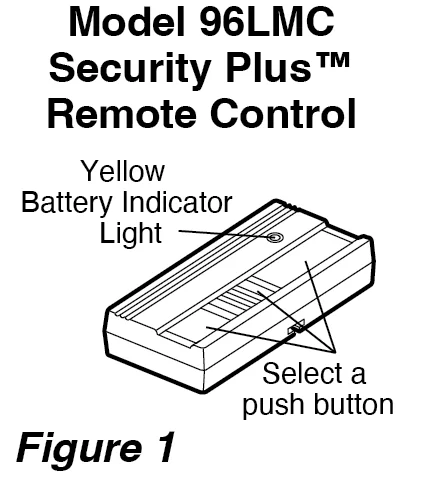
Select a remote control push button to operate the opener. The large button is recommended for use with a garage door opener.
- Press and hold the selected remote control push button. See Figure 1.
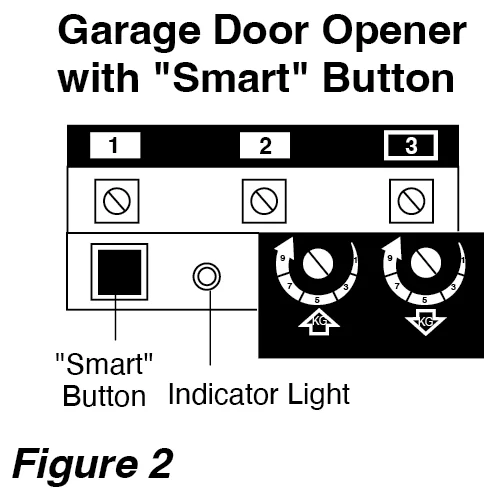
- Press and release the “Smart” button on the opener panel. See Figure 2. The indicator light on the panel will begin to blink and the opener lights will flash once.
- Release the remote push button.
Now the opener will operate when that remote control button is pressed. Test it by pressing the remote button to see that the door goes up and down.
Adding a remote can also be done from the door control, as follows:
- With the door closed, press and hold a remote push button.
- Press and hold the Light button on the door control.
- Press and hold the door control push bar.
- After the opener lights flash, release all buttons. Test by pressing the remote push button.
FREE MANUAL PDF DOWNLOAD
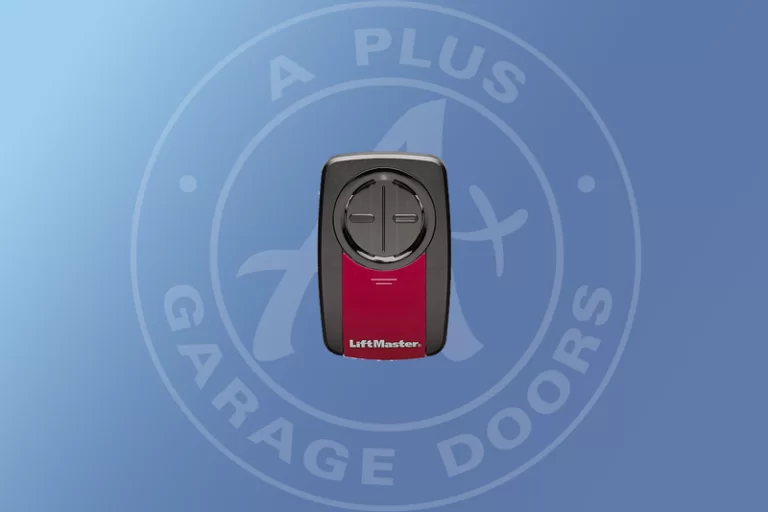
LiftMaster: Remote Control – Model 96LMC Security Plus 3-Channel Remote Control
To Erase All Remote Control Codes
Press and hold the “Smart” button on the opener panel until the indicator light turns off (about 6 seconds). All transmitter codes are now erased. Then follow the steps above to re-program each remote control.
Replacement Parts
Model 96LM Security Plus remote case, cover, screw . . . . . . .41A5018
(circuit board not included)
12 Volt battery . . . . . . . . . . . . . . . . . . . . . . . . . . . . . . . . . .10A14
To Control the Opener Lights
With Security Plus transmitters, a remote push button can be programmed to operate the opener lights without opening the door.
- With the door closed, press and hold the remote button that you want to control the light.
- Press and hold the Light button on the door control.
- Press and hold the Lock button on the door control.
- After the opener lights flash, release all buttons.
Test by pressing the remote push button. The opener lights should turn on or off but the door should not move.
Open/Close/Stop Operation
Your Security Plus remote control can be programmed to operate one door using all 3 buttons: the large button will only open the door, the middle button will only close the door, and the third button will stop the door’s movement. You may set up this feature as follows:
- With the door closed, press and hold
the large remote push button. - Press and hold the Lock button on
the door control. - Press and hold the door control push bar.
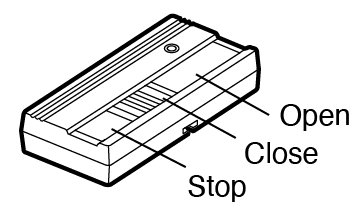
When the opener lights flash, release all buttons. Test by pressing the large (Open) button on the remote. The door should open. Press it again while the door is open and nothing should happen. Press the middle (Close) button and the door should close. Press the third (Stop) button while the door is moving and it should stop immediately.
FREE MANUAL PDF DOWNLOAD
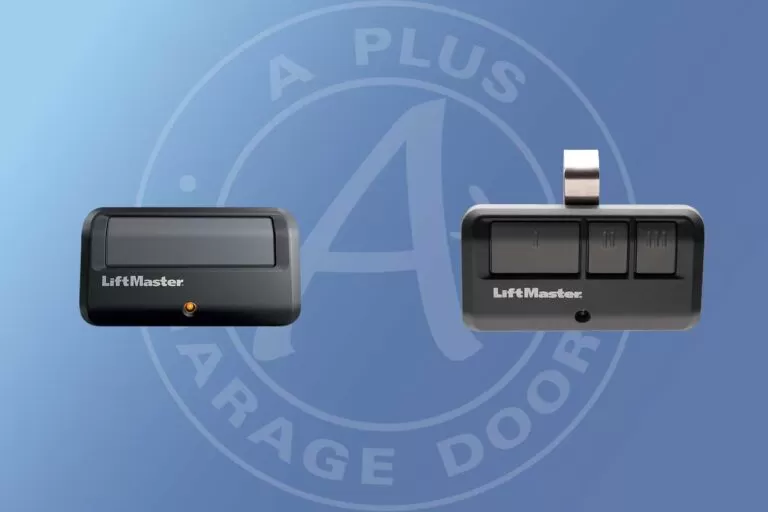
LiftMaster: Remote Control – Model 96LMC Security Plus 3-Channel Remote Control
Warning
Children operating or playing with a garage door opener can injure themselves or others. The garage door could close and cause serious injury or death. Do not allow children to operate the wall push buttons or remote controls. A moving garage door could injure or kill someone under
it. Activate the opener only when you can see the door clearly, it is free of obstructions, and is properly adjusted.