In the realm of garage door openers, the LiftMaster brand stands out as a trusted name. Among its array of features, the LiftMaster LEARN button holds particular significance, serving as a pivotal component in the setup and operation of these devices. If you’re wondering more about this button, let’s delve into its location and functionality.
Locating the LEARN Button
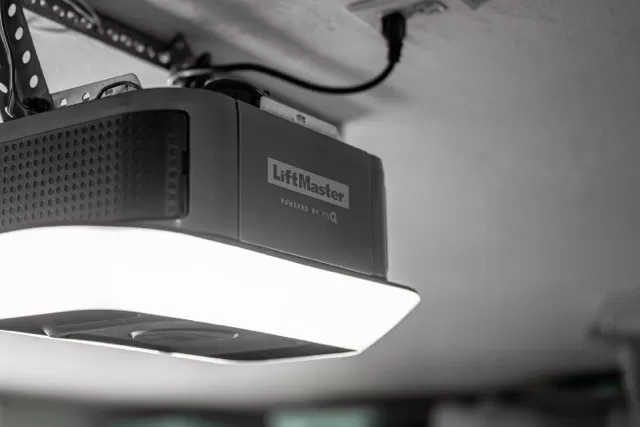
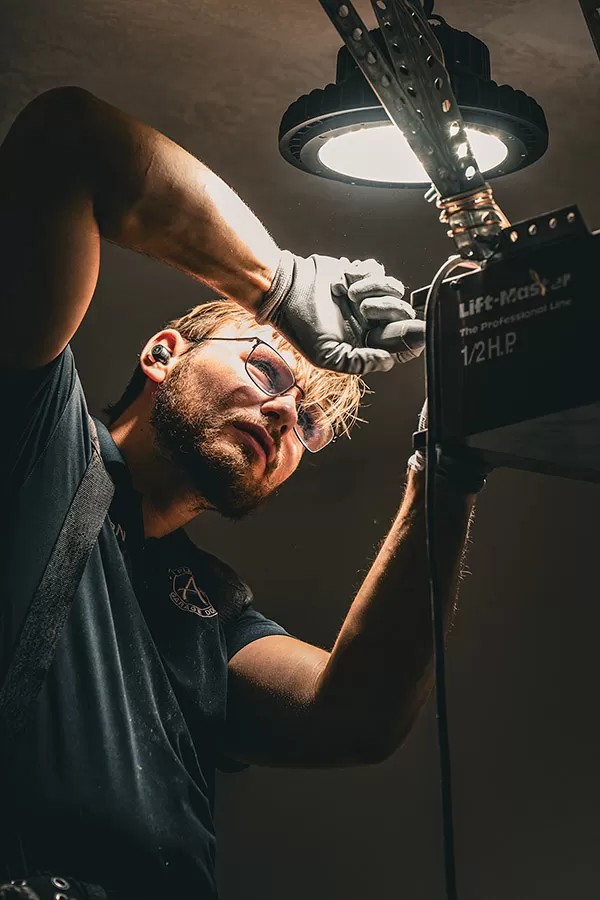
The precise location of the LiftMaster LEARN button can vary depending on the model of your garage door opener. However, it is typically found on the motor unit near the ceiling of your garage. Utilize a ladder to reach and search for a cover, then pull it down or sideways to reveal the dashboard beneath. Once the cover is moved, a dashboard featuring buttons and LED lights will be unveiled. Among these, there should be a round yellow LEARN button situated to the left of two clear triangle buttons, with a black rectangle button separating them.
Locating the LEARN Button on the Wall Control Panel
Typically, the wall control panel for LiftMaster garage door openers is mounted near the entrance to your garage, providing convenient access for users. The exact placement of the LEARN button on the wall control panel may vary slightly depending on the model of your opener, but it is usually prominently featured for easy identification and access.
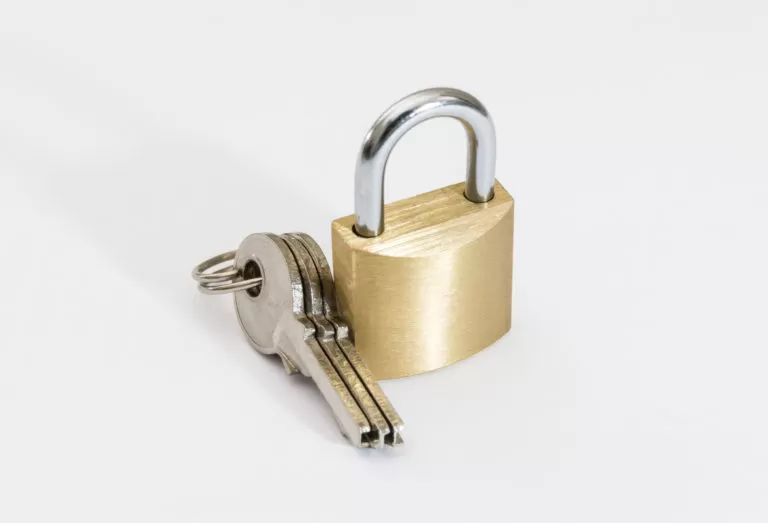
Under the push panel of the control panel, you will find an array of buttons and indicators. The LEARN button is typically distinguished by its specific labeling. Look for a button labeled as “LEARN” or featuring a symbol indicative of its function, such as a key or an open padlock. In some models, the LEARN button may also serve a dual purpose, such as being labeled as “LEARN/PROGRAM.”
Learn Button Functionalities
- Programming Remote Controls: One of the primary functions of the LEARN button is to program remote controls or keypads to communicate with the garage door opener. When you acquire a new remote or keypad, you typically need to sync it with your opener by pressing the LEARN button and then following specific instructions outlined in the user manual.
- Resetting the Opener: At times, you may encounter issues with your garage door opener, such as it failing to respond to commands or experiencing connectivity issues. In such cases, pressing and holding the LEARN button for a specified duration can reset the opener to its factory settings, potentially resolving the issue.
Programming a Garage Door Opener with the Learn Button
- Step 1: Locate the Learn button on your garage door opener and ensure that your opener is powered on and ready for programming.
- Step 2: Press and release the Learn button on your garage door opener until an LED starts to glow. Depending on the model, you may need to press and hold the button for a few seconds until the indicator light activates.
- Step 3: Within 30 seconds, press the button on your garage door remote control to activate the desired function for your garage door. Upon seeing the flashing lights on the garage door opener, programming is successfully completed.
The LiftMaster LEARN button on the wall control panel is crucial in setting up and operating your garage door opener. By familiarizing yourself with its location and functionality, you can easily program and synchronize various devices, ensuring smooth and efficient performance for your garage door system.