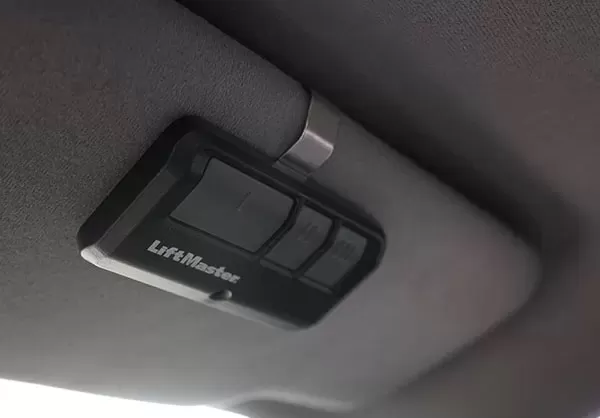
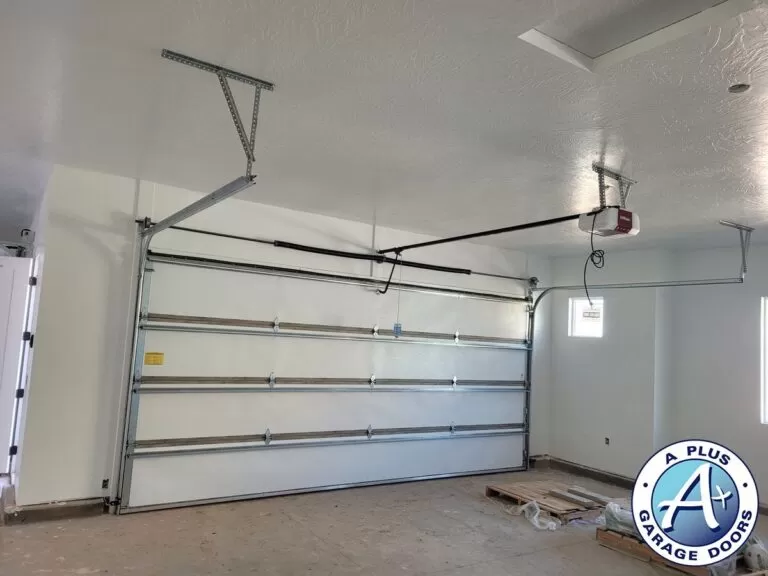
Garage door openers (remotes) have become indispensable tools for modern homeowners, offering convenience and security at the touch of a button. Whether you’ve recently moved into a new home or upgraded your existing garage door opener system, resetting your garage door remote is vital to ensure the safety of your home.
How Do Garage Door Opener Remotes Work?
To get started on resetting your garage door, it is important to understand how garage door remotes work.
At the heart of garage door opener remotes lies wireless communication technology, typically operating on radio frequency (RF) signals. RF signals enable the remote to transmit commands to the garage door opener from a distance, allowing you to control your garage door without the need for physical contact.
Modern garage door openers utilize wireless technology for remote operation, while older models employ DIP switches to manage the opening and closing mechanisms. The method for resetting your garage door opener and remote varies depending on whether you own a newer or older model opener system.
Also, contemporary garage door openers are equipped with a reset button typically identified as “learn” or “home” within the control panel, whereas older models utilize a set of switches. Next, it’s important to highlight that resetting any remote for your garage door, regardless of its age, requires clearing the opener’s memory.
Moving? Resetting Your Garage Door Opener & Remote
Moving into a new home is an exciting milestone, but amidst the flurry of unpacking and settling in, it’s crucial not to overlook essential security measures. One often overlooked aspect of home security is resetting the garage door opener and remote. Doing so is imperative to prevent unauthorized access and to ensure the safety of your family in your new home. In this guide, we’ll walk you through the simple steps to reset your garage door opener remote when moving into your new home.
1. Clear the Opener’s Memory
To begin the reset process, you’ll need to clear the memory of the garage door opener. This step is essential to ensure that any previously programmed remotes or keypads are no longer recognized by the system.
Most modern garage door openers have a reset button, often labeled “learn” or “home,” located on the control panel or motor unit. This button may appear in yellow, black, purple, or red and is often positioned alongside an LED indicator. The colors of the LEDs may differ depending on the brand. If your garage door opener doesn’t have a reset button, refer to the manual for alternative methods to enter programming mode.
To effectively erase the previous codes, press and hold the “learn” or “home” button for approximately 15 seconds or until the LED indicator turns off. This action alone resets the opener; however, for specific newer models, you might need to press the button again immediately after the LED turns off to ensure a successful reset.
Working with a DIP (Dual In-Line Package) System
For garage door openers utilizing a DIP system, both the central unit and the remote controller contain a set of switches. Depending on the model, there may be nine to twelve switches. The DIP switches inside the main unit, and remote must have matching configurations for proper functionality.
Locate the DIP switches inside the main unit of the garage door opener and on the handheld remote. Adjust these switches to a neutral position, either all on or all off, to erase the previous codes. Typically, this action is sufficient to reprogram your new controller.
2. Reprogramming the New Controller
With the existing codes cleared, it’s time to program the new controller. Proceed by pressing the learn button on the opener again, and within 30 seconds, press the desired button on the new controller that you wish to use to operate the garage door. The LED indicator on the opener should flash, indicating that the new controller has been programmed.
After programming the new controller, it’s essential to test its functionality to ensure it’s working correctly. Stand within range of the garage door opener and press the button on the new controller. If the garage door responds by opening or closing as expected, then the controller has been successfully reprogrammed.
In the case of a shared garage, it’s important to repeat this step to reprogram any additional remote controls you possess, ensuring seamless access for all household members.
While garage door openers offer convenience, malfunction can quickly arise, leading to frustration. Some problems, like dead batteries or signal interference, are easily remedied. However, more complex malfunctions may require professional intervention, such as wiring issues or faulty eye sensors. In such cases, A Plus Garage Doors can efficiently fix your garage door remote, saving you time and effort. We specialize in servicing garage doors and openers from various brands. Call A Plus Garage Doors today to learn more about our garage door repairs and services.
